
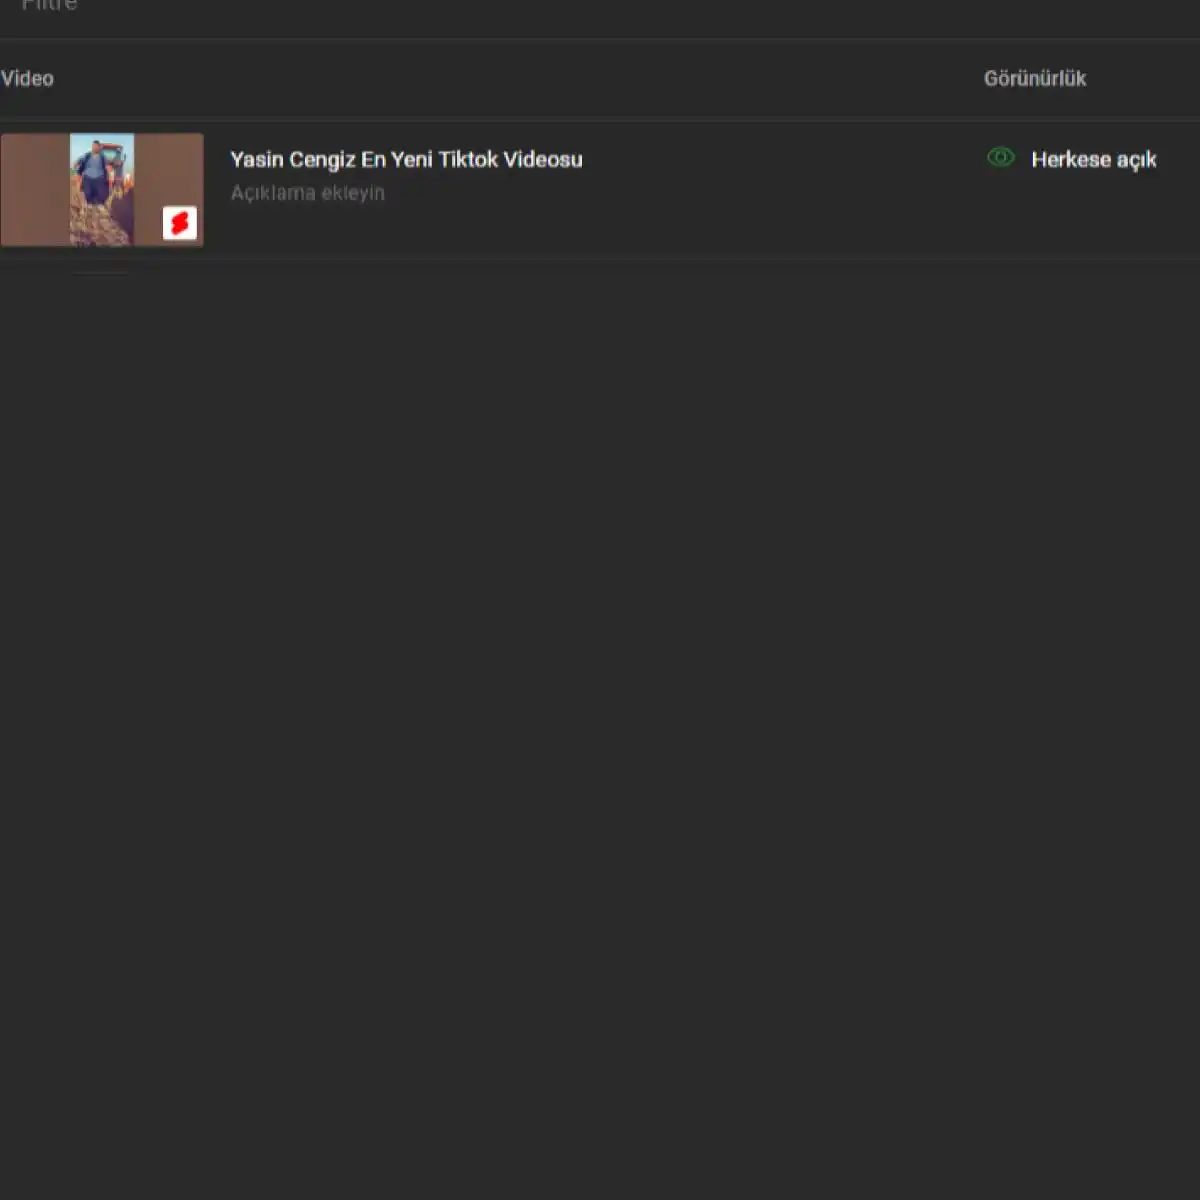
So you’ve uploaded a video. Now you want it gone. Maybe it was a mistake. Maybe the audio quality sucked. Or maybe you’re just cleaning house before a rebrand. Whatever the reason, removing content from your channel is straightforward once you know where to look. The interface changes occasionally, but the core logic remains the same: you need to be logged in, and you need to access your studio.
Start with Authentication
The first hurdle is simple but non-negotiable. You must be logged into the correct account. If you manage multiple channels or have old credentials lying around, this is where things get messy. Get into your Google account first. If you’re using a browser on a desktop, head to YouTube’s main page. On mobile, open the app. The steps below assume you’re using the desktop interface, which offers the most control. If you’re on an iPhone or Android, the process is slightly different but equally direct.
Access YouTube Studio
Once logged in, do not just scroll through your homepage. You need the backend. Look for your profile icon in the top-right corner. Click it. A dropdown menu will appear. Select YouTube Studio. This is the command center. It’s where you manage uploads, analytics, and yes, deletion. If you don’t see this option, you might not have permissions for that specific channel. Double-check you’re in the right place.
Locate the Specific Video
Inside YouTube Studio, click on Content in the left-hand menu. This displays a grid of all your uploaded videos. It can be a long list. If you have hundreds of videos, use the search bar at the top. Type the title. Find the video you want to remove. Click on it. Don’t click the thumbnail. Click the row itself or the pencil icon to edit details. This opens the video details page. You are now looking at the metadata, but you need the action buttons.
The Deletion Workflow
Look at the right side of the screen. Or, if you’re on mobile, look for the three-dot menu in the top-right corner of the video card. You need to find the More actions option. Click it. A submenu will drop down. Look for Delete. This is the point of no return. YouTube will ask you to confirm. They might ask why you’re deleting it. Be honest. It doesn’t matter to them. It matters to you.
What Happens After You Click Delete?
Here is the part most people skip. When you delete a video, it isn’t immediately erased from existence. It goes into a Trash folder. It stays there for 30 days. During this window, you can recover it. If you made a mistake, you have a month to change your mind. After 30 days, it is gone for good. The views count resets. The comments disappear. The watch time is lost forever. This is not a soft delete. This is a hard reset.
Consider Alternatives Before Deleting
Sometimes you don’t want to delete. Maybe the video has good SEO but the thumbnail is ugly. Maybe it has comments you don’t want to deal with. In those cases, consider unlisting it instead. An unlisted video isn’t searchable or visible on
Accessing the Interface
Start by signing into your account. You can’t touch existing content without being logged in. Once you’re in, look for your profile icon in the upper right corner. Click it. A dropdown menu appears.
Select YouTube Studio. This is the hub. From there, navigate the left-hand sidebar and click on Video Manager (or simply “Content” in newer iterations, though the legacy interface still uses the manager label for bulk actions). This brings you to the backend where the heavy lifting happens.
Locating the Target
Now you need to find the specific video you want to remove. If you have hundreds of uploads, scrolling becomes tedious. Use the search bar or filter options to narrow down the list. Look for the title, upload date, or video ID. Once you spot it, the row will highlight. You’re ready to proceed to the deletion step.
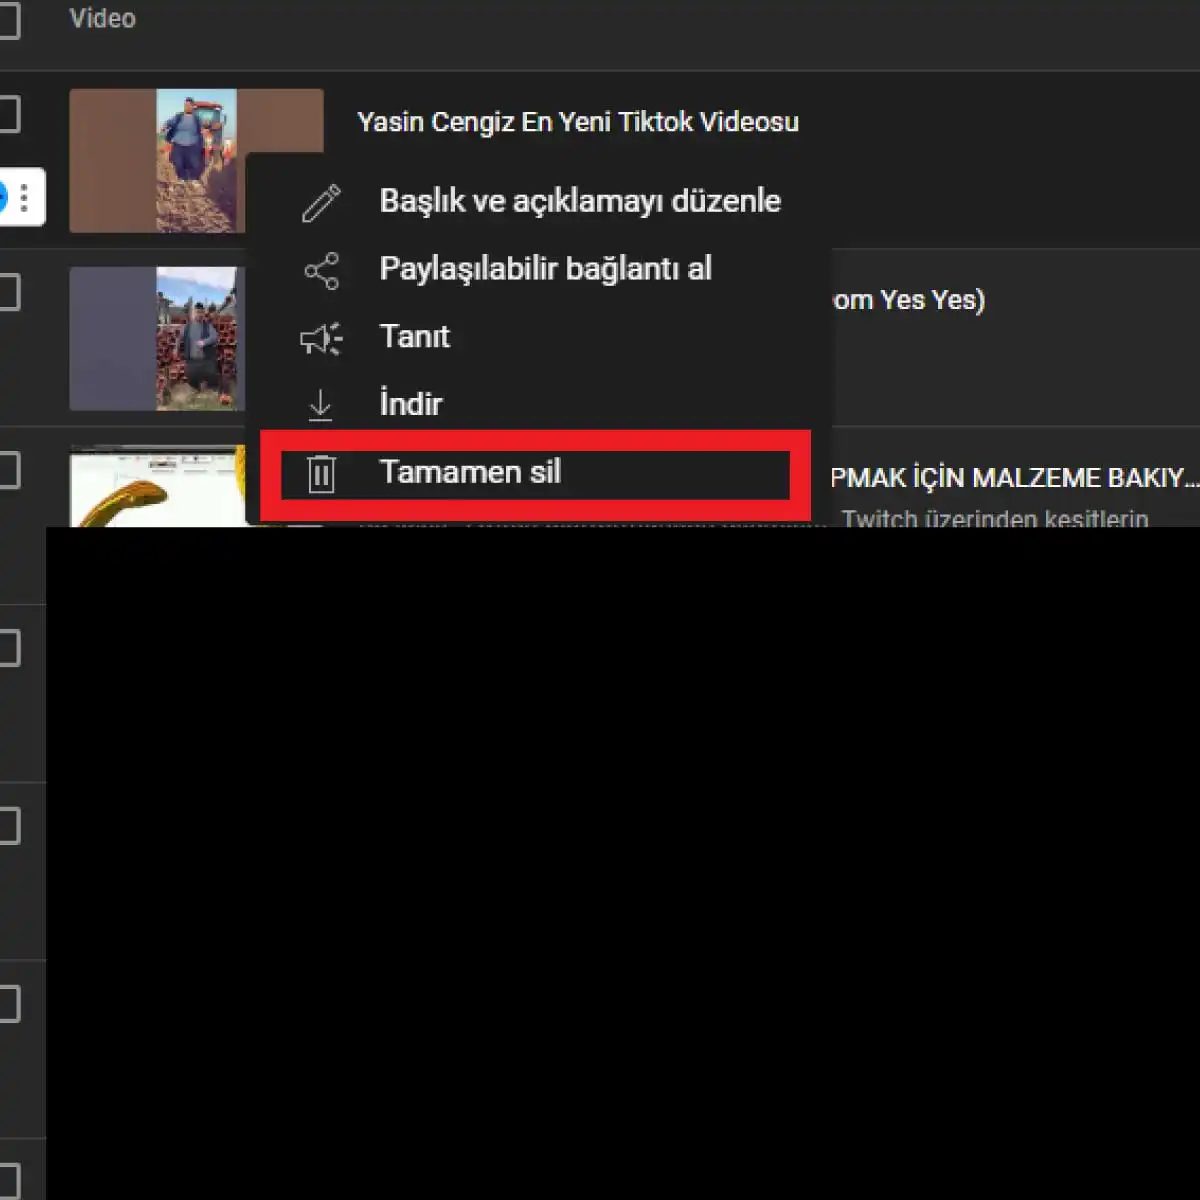

Artık hangi videoların depolama alanınızı işgal ettiğini görüyorsunuz. Listede kaydırma yapmak yerine arama çubuğunu kullanmak daha hızlı sonuç verir. Belirli bir dosyayı bulamadığınızda filtreleme seçeneklerini devreye sokun.
4. Silme işlemine geçin
İlgili videoyu seçtikten sonra görselin hemen altındaki Daha fazla işlem butonuna dokunun. Açılan açılır menüde Sil seçeneğini belirleyin. Bu adım geri alınamaz bir işlemdir, o yüzden önce emin olun.
5. Silme işlemini onaylayın
Son uyarı penceresi karşınıza çıkacak. Dosya kalıcı olarak silinecek. Evet diyerek işlemi tamamlayın.
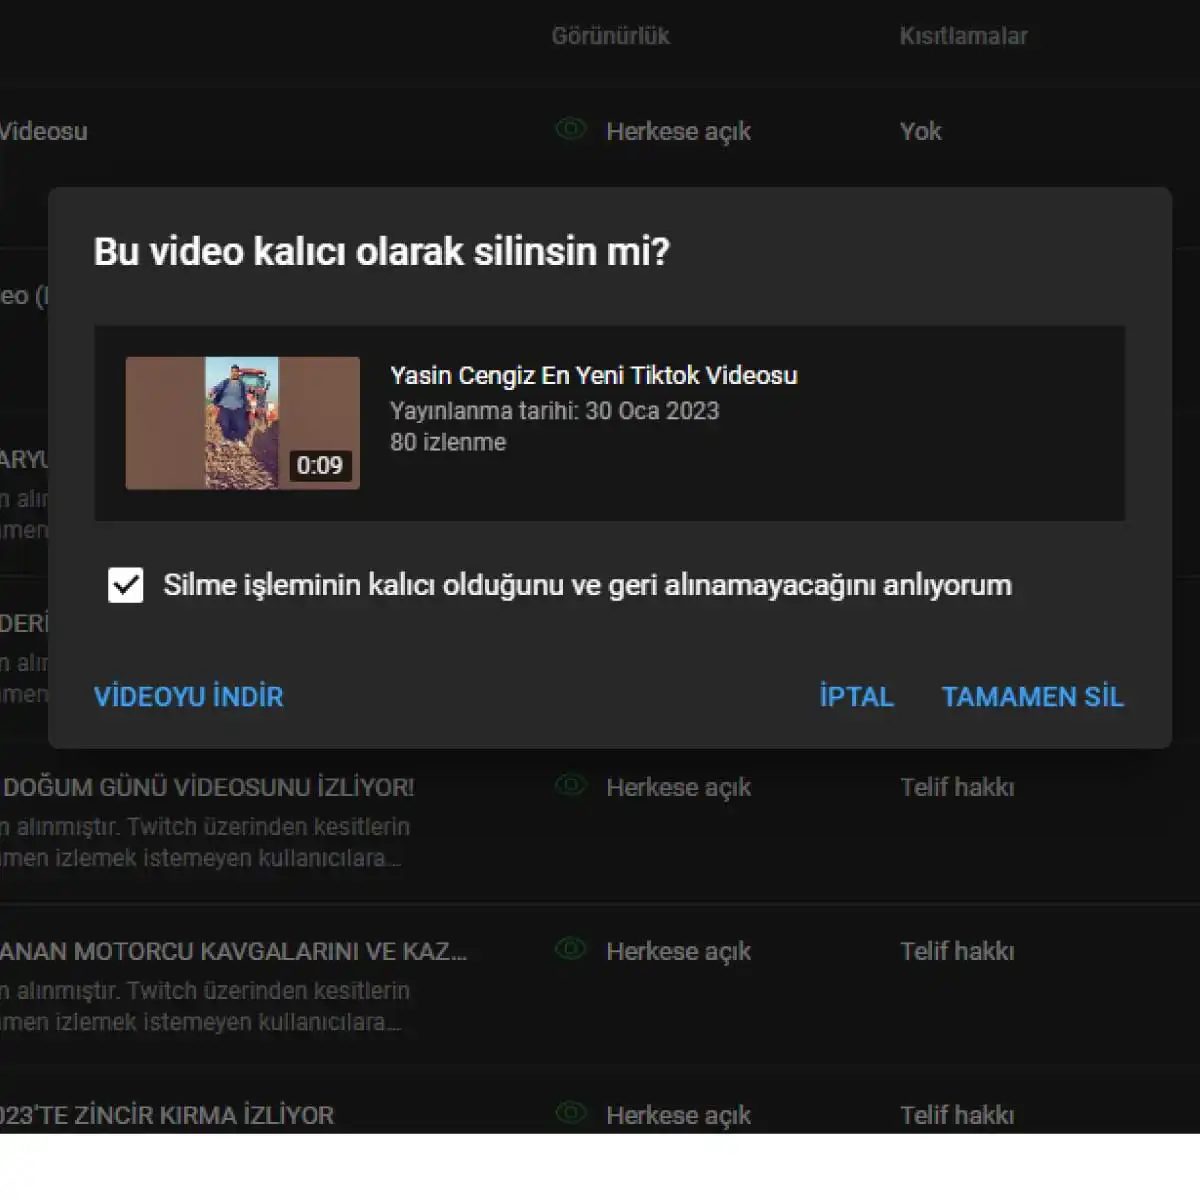
Ekrandaki “Sil” seçeneğine tıkladığınızda karşınıza çıkan onay penceresi, son durak. Artık geri dönüş yok. “Sil” düğmesine bastığınız an, dosya çöp kutusuna bile düşmeden yok oluyor. Bu işlemi gerçekleştirirken parmağınız titrememeli. Çünkü YouTube, bu kararı geri almanıza izin vermiyor.
6. Video başarıyla silindi
İşlem tamamlandığında, ekranınızda işlemi tamamladığınızı gösteren bir bildirim belirir. Ancak bu bildirim, kaybettiklerinizi hatırlatmak için de yeterince güçlüdür. Silinen video artık kanalınızda, arama sonuçlarında veya önerilerde hiçbir iz bırakmaz. Tamamen silinmiş, sanki hiç var olmamış gibi.
YouTube Video Silerken Dikkate Almanız Gereken Noktalar
Bir videoyu kanalınızdan kaldırmak, sadece bir dosyayı silmekten ibaret değildir. Etkileri çok daha geniş. Düşünmeden yapılan bir silme işlemi, kanalınızın itibarına ve analitik verilerine kalıcı zarar verebilir. İşte silmeden önce mutlaka gözden geçirmeniz gereken gerçekler:
-
Geri dönüşü olmayan bir işlemdir: Tekrar vurgulamak gerek; bir videoyu sildiğinizde, YouTube’un size sunduğu “geri yükle” seçeneği yoktur. Verilerinizi kurtarmak için üçüncü taraf yazılımlara güvenmek riskli ve genellikle başarısız olur. Sadece ihtiyacınız varsa silin.
-
Etkileşimler sıfırlanır: Videonuzu sildiğinizde, o videoya ait tüm yorumlar, beğeniler, paylaşımlar ve izlenme istatistikleri de birlikte yok olur. Bu verileri analiz etmek için çalıştıysanız, tüm emeğiniz çöpe gider. İstatistiklerinizi kaybetmek, gelecekteki içerik stratejinizi belirlemenizi zorlaştırır.
-
Dış bağlantılar bozulur: Videonuzu başka sitelere gömmüşseniz veya sosyal medyada linklerini paylaşmışsanız, bu bağlantılar artık “404 Not Found” hatası verecektir. Kullanıcılar, tıkladıkları yerde boş bir sayfa veya hata mesajı görecektir. Bu da sitenizin güvenilirliğini düşürebilir.
-
Telif hakkı uyarıları: Videoyu silmek, telif hakkı ihlalini ortadan kaldırmaz. Eğer videonuz bir telif hakkı davasına konu olduysa veya uyarı aldıysanız, sadece silmek sorunu çözmez. Önce yasal süreçleri tamamlamanız gerekir. Aksi takdirde, kanalınızda başka sorunlar doğabilir.
-
İzlenme ve analiz verileri kaybolur: Bir videonun performansını ölçmek için harcadığınız zaman, onu sildiğinizde anlamsızlaşır. İzlenme sayısı, izlenme süresi, demografik veriler… Hepsi bir anda silinir. Bu veriler, gelecekteki içerik planlaması için kritik öneme sahiptir.
-
Kanal bütünlüğü: Videonuzu silmek, kanalınızın genel akışını ve izleyici deneyimini etkiler. İçerik stratejinizde bir boşluk yaratır. İzleyicileriniz, neden bu içeriğin ortadan kalktığını merak edebilir. Bu nedenle, silme kararı vermeden önce kanalınızın bütünlüğünü ve hedef kitlenizin beklentilerini göz önünde bulundurun.
Silinen Bir YouTube Videosu Geri

YouTube’dan Silinen Videoları Kurtarma Yolları ve Gerçekler
YouTube üzerinden bir videoyu silmek, geri dönüşü olmayan bir işlemdir. Silme işlemi tamamlandığında, o video ve ona bağlı tüm içerikler kalıcı olarak kaybolur. Bu yüzden, bir videoyu silmeden önce dikkatli olmak ve doğru kararı vermek önemlidir.
YouTube, kullanıcıların silinen videoları geri getirme seçeneğini sunmamaktadır. Bu, videoların güvenliğini ve kullanıcıların kendi içeriklerini kontrol etme özgürlüğünü sağlamak için alınan bir önlemdir. Ancak, bazı durumlarda, silinme işlemi yanlışlıkla veya hatalı bir şekilde gerçekleştirilmiş olabilir.
Eğer bir videoyu yanlışlıkla sildiyseniz veya geri getirmek istiyorsanız, aşağıdaki adımları deneyebilirsiniz:
-
Yedekleme veya başka kaynaklardan videoyu geri yükleme: Eğer videoyu daha önce yedeklemiş veya başka bir kaynakta saklamışsanız, bu kaynaktan videoyu geri yükleyebilirsiniz.
-
YouTube Destek ekibiyle iletişime geçme: YouTube Destek ekibiyle iletişime geçerek durumu açıklayabilir ve videoyu geri getirme konusunda yardım isteyebilirsiniz. Ancak, bu durumda bile geri getirme garantisi verilmemektedir.
Önemli bir not: Videoyu geri getirme şansınız olsa bile, videoya bağlı olan yorumlar, beğeniler, görüntülenme sayısı ve diğer etkileşimler geri yüklenmeyebilir. Bu nedenle, silme işlemini gerçekleştirmeden önce dikkatlice düşünmek ve doğru kararı vermek önemlidir.
YouTube Video Silme İşlemi Sonrasında Dikkat Edilmesi Gerekenler

The Permanent Reality of Hitting Delete on YouTube
Let’s get one thing straight immediately. Once you hit that delete button on a YouTube video, it is gone. Permanently.
This isn’t a “trash can” situation in the traditional sense where you can fish it out a week later if you change your mind. When you delete a video, you lose the file itself, along with every single metric attached to it. Views. Comments. Likes. Shares. All of it vanishes into the digital void.
Before you make this move, you have to ask yourself if the content is truly dead weight or if it’s just underperforming. Deleting removes the asset from your channel’s history. It creates a gap in your content strategy that doesn’t just disappear on its own. You lose the SEO value those videos might have brought you over time.
Broken Links and External Embeds
Here is the technical headache most creators miss until it’s too late. If you embedded that video on your own website, shared it on LinkedIn, or linked it in a blog post, those links become dead ends.
The embed player stops working. The link returns a 404 error or a generic “video unavailable” message. For a business account, this can look sloppy. For an educator, it breaks the learning path.
You need to audit your external presence. Where else does this video live? If it’s driving traffic to a product page or supporting a newsletter archive, removing it without updating those sources breaks the user journey.
The “Undo” Options: They Are Limited
If you made a mistake—accidentally deleted the wrong clip or hit delete on a video you meant to privatize—you have a very narrow window to act.
1. The Trash Can
YouTube Studio keeps deleted videos in a “Trash” folder. This is your only real safety net.
* Go to YouTube Studio.
* Select Content from the left menu.
* Click on Trash.
* If the video is there (and hasn’t expired), you can restore it.
Note: Items in the Trash are deleted permanently after 30 days. You cannot extend this. If you wait too long, those metrics are gone forever.
2. Support Requests
Can you contact support to undelete a video older than 30 days? Generally, no. YouTube’s support team handles copyright strikes and account issues, not accidental deletion recovery for old content. If your video has been in the trash for more than a month, the request will likely be rejected.
3. Backups Are Non-Negotiable
This brings us to the most critical takeaway. If a video matters to you, you must download the original file to your local drive or a cloud storage service before you publish. Relying on YouTube’s servers as your primary backup is a bad strategy. Always keep a master copy.
How to Actually Delete a Video
If you’ve decided the damage is worth the cleanup, here is the exact path:
- Log into your YouTube Studio.
- Navigate to the Content tab.
- Hover over the video you want to remove.
- Click the three-dot menu (more options) next to the video title.
- Select Delete.
- Confirm the action in the popup window.
It sounds simple because it is. But the consequences are immediate.
Why This Matters for Your Channel Growth
Deleting videos isn’t just about tidying up; it affects your channel’s health.
- Subscriber Impact: Subscribers who were notified of that video will now see a broken link in their watch history. This can frustrate your audience.
- Algorithmic Confusion: If that video was part of a playlist or a series, breaking the chain can hurt the recommended views for related content.
- Monetization Loss: If the video was earning ad revenue, that stream stops instantly. There is no pro-rated payout for views after deletion.
The Verdict
Privacy settings are the better alternative to deletion in 90% of cases. If the content is sensitive, outdated, or just not aligning with your current brand, set it to Private or Unlisted.
- Private: Only you can see it.
- Unlisted: Anyone with the link can see it, but it won’t appear in search or on your channel.
This preserves your viewership history and keeps the link active for your existing audience while removing it from public discovery.
Save the deletion for videos that violate community guidelines or contain copyrighted material that cannot be resolved. For everything else, archiving is smarter than annihilating.
You lose the data. You lose the history. You lose the momentum. Think twice before you press the button.